Removing the white background from an image can significantly enhance its appearance and seamlessly integrate it into various design projects. Whether you're creating a presentation, designing graphics, or working on any visual content, knowing how to remove backgrounds in PowerPoint can be incredibly useful. In this guide, we'll walk through the step-by-step process of removing a white background from an image within PowerPoint, allowing you to achieve professional-looking results effortlessly.
Step-by-Step Guide to Removing White Background from an Image in PowerPoint:
Insert the Image:
Start by launching PowerPoint and opening your presentation or creating a new slide where you want to insert the image.

Click on the "Insert" tab in the top menu and select "Pictures" to insert the image from your computer or other sources.
Select the Image:
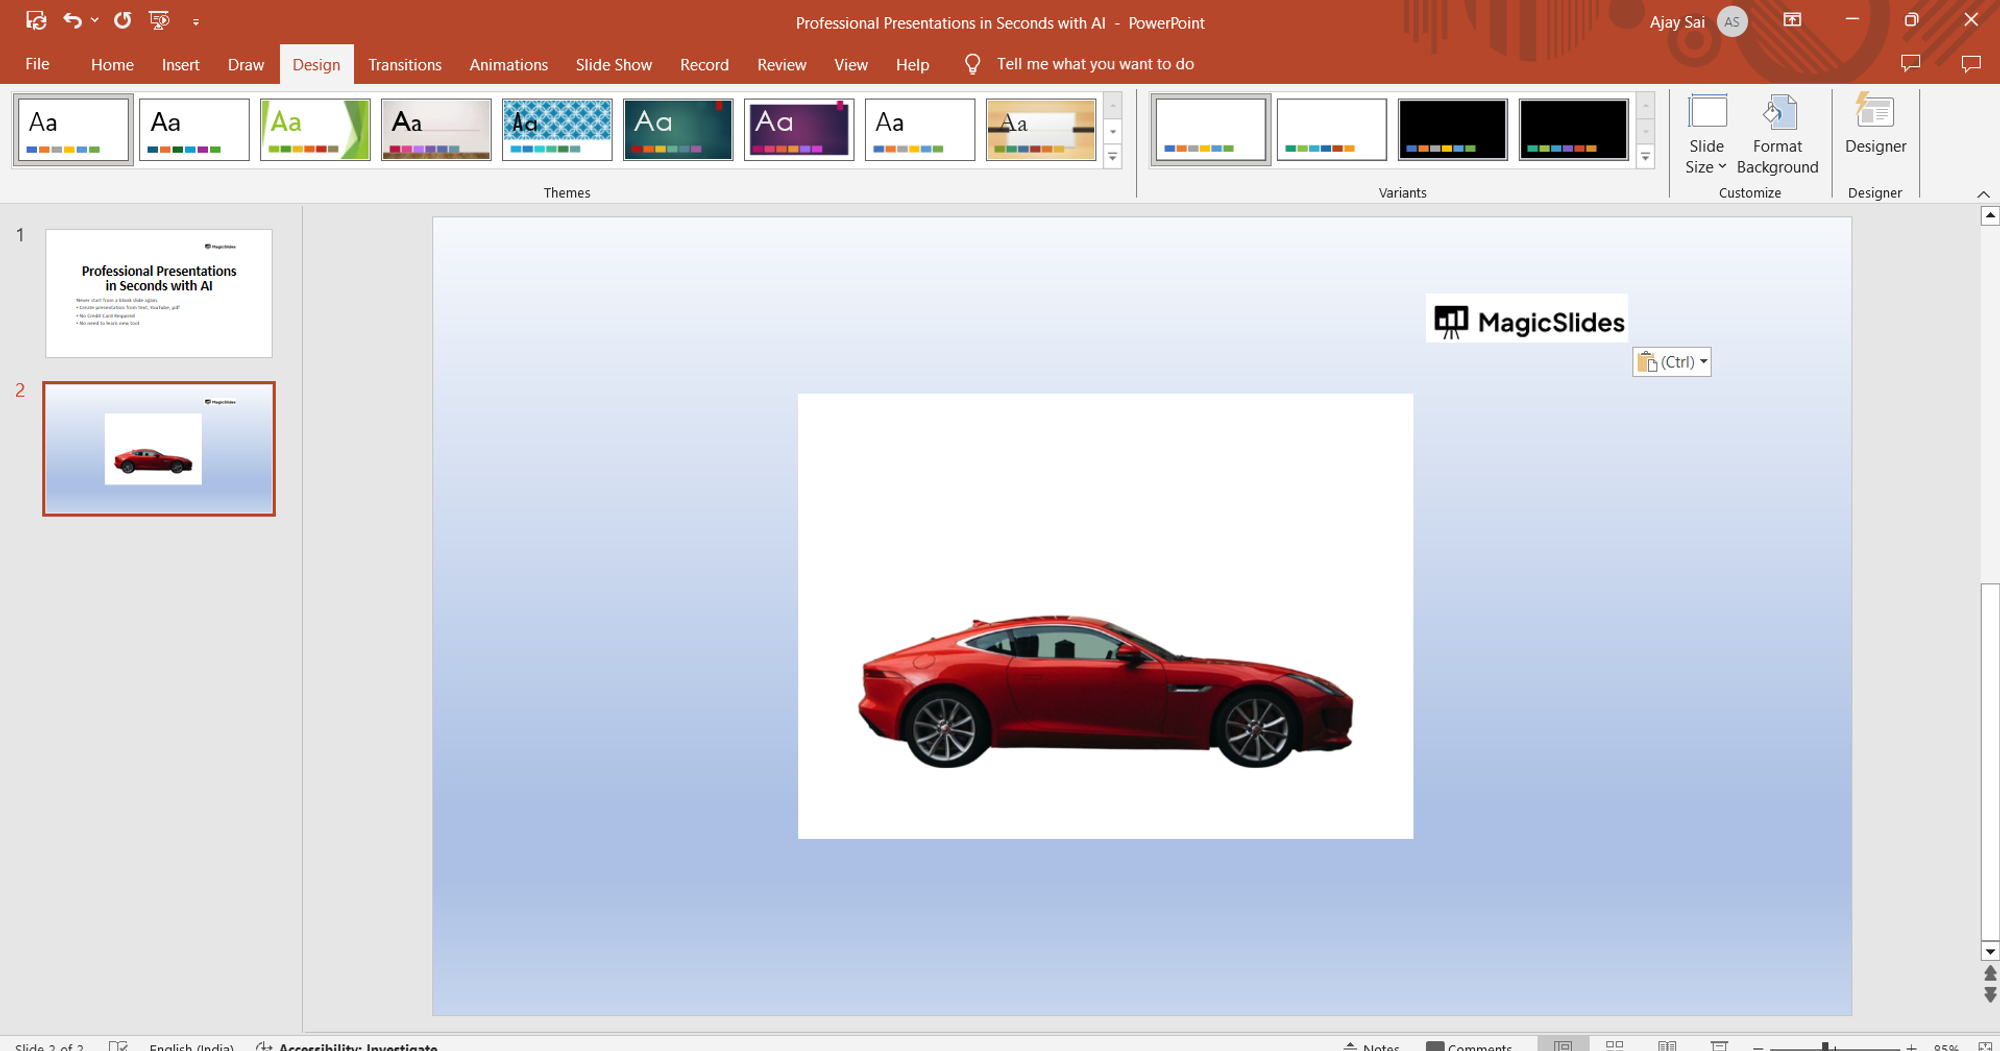
Once the image is inserted into the slide, click on it to select it. You'll know it's selected when you see a bounding box around the image with small white squares or circles on its corners and sides.
Format Picture:
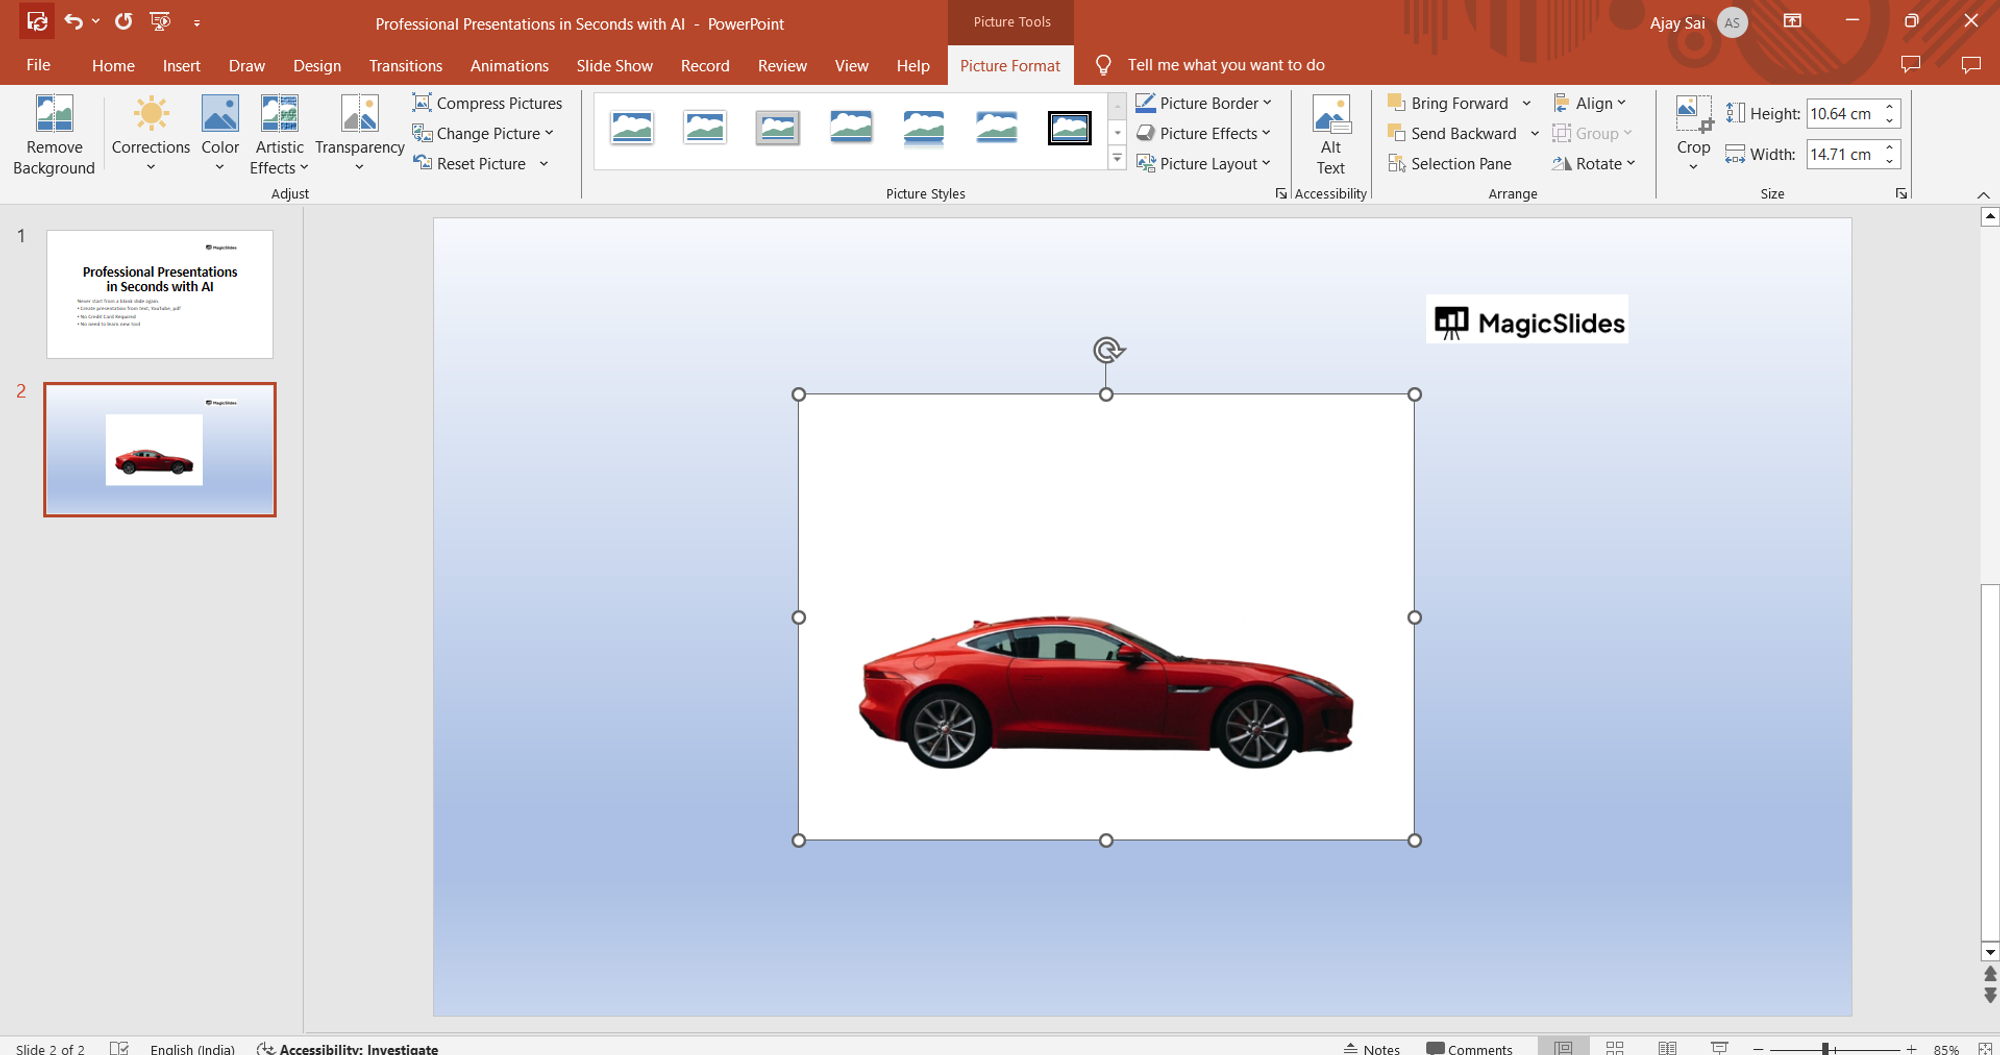
With the image selected, navigate to the "Format" tab in the top menu. Here, you'll find various options for formatting the image. Click on the "Remove Background" button, which is represented by a icon of a person with a scissor.
Adjust Background Removal:
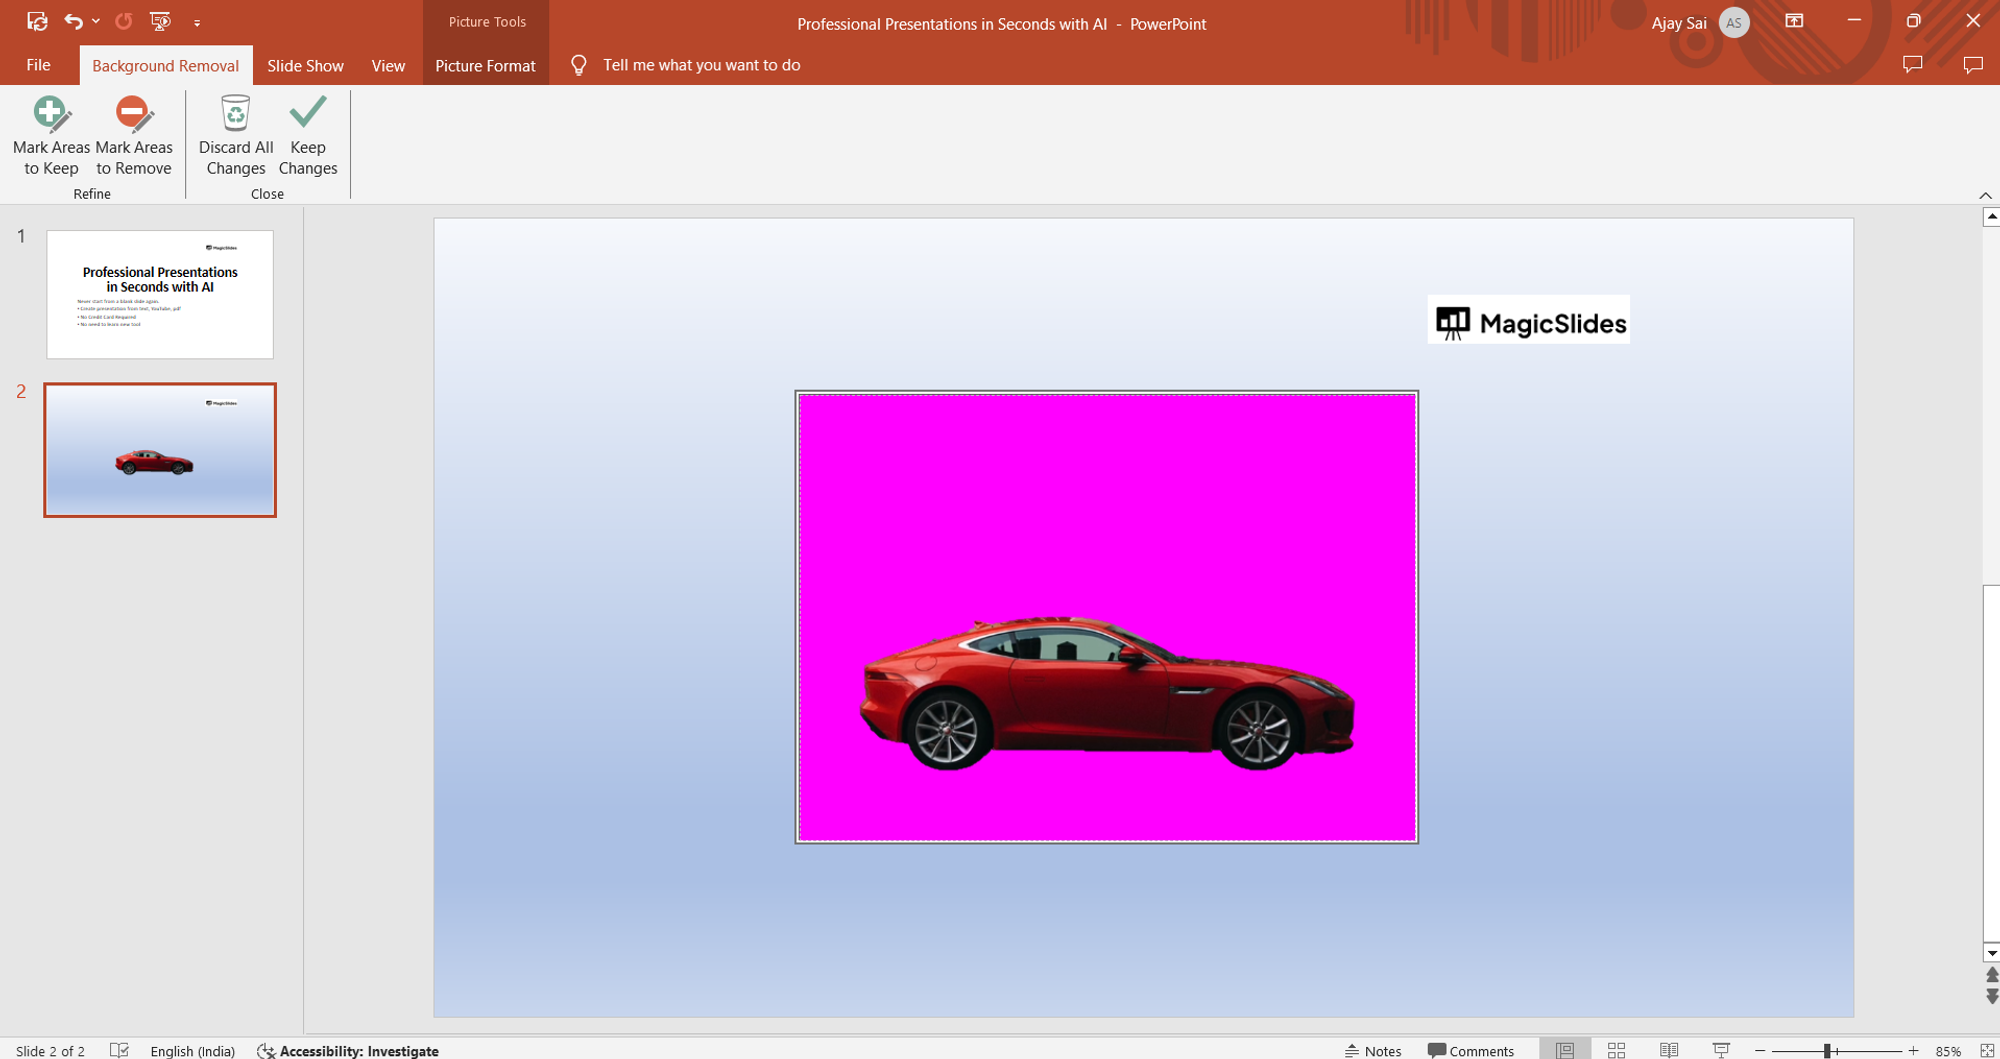
After clicking "Remove Background," PowerPoint will automatically attempt to identify the background to remove. The areas to be removed will be highlighted in pink, while the areas to keep will remain untouched. Adjust the selection by dragging the bounding box corners or sides as needed to include the entire foreground subject while excluding the white background.
Refine the Selection:
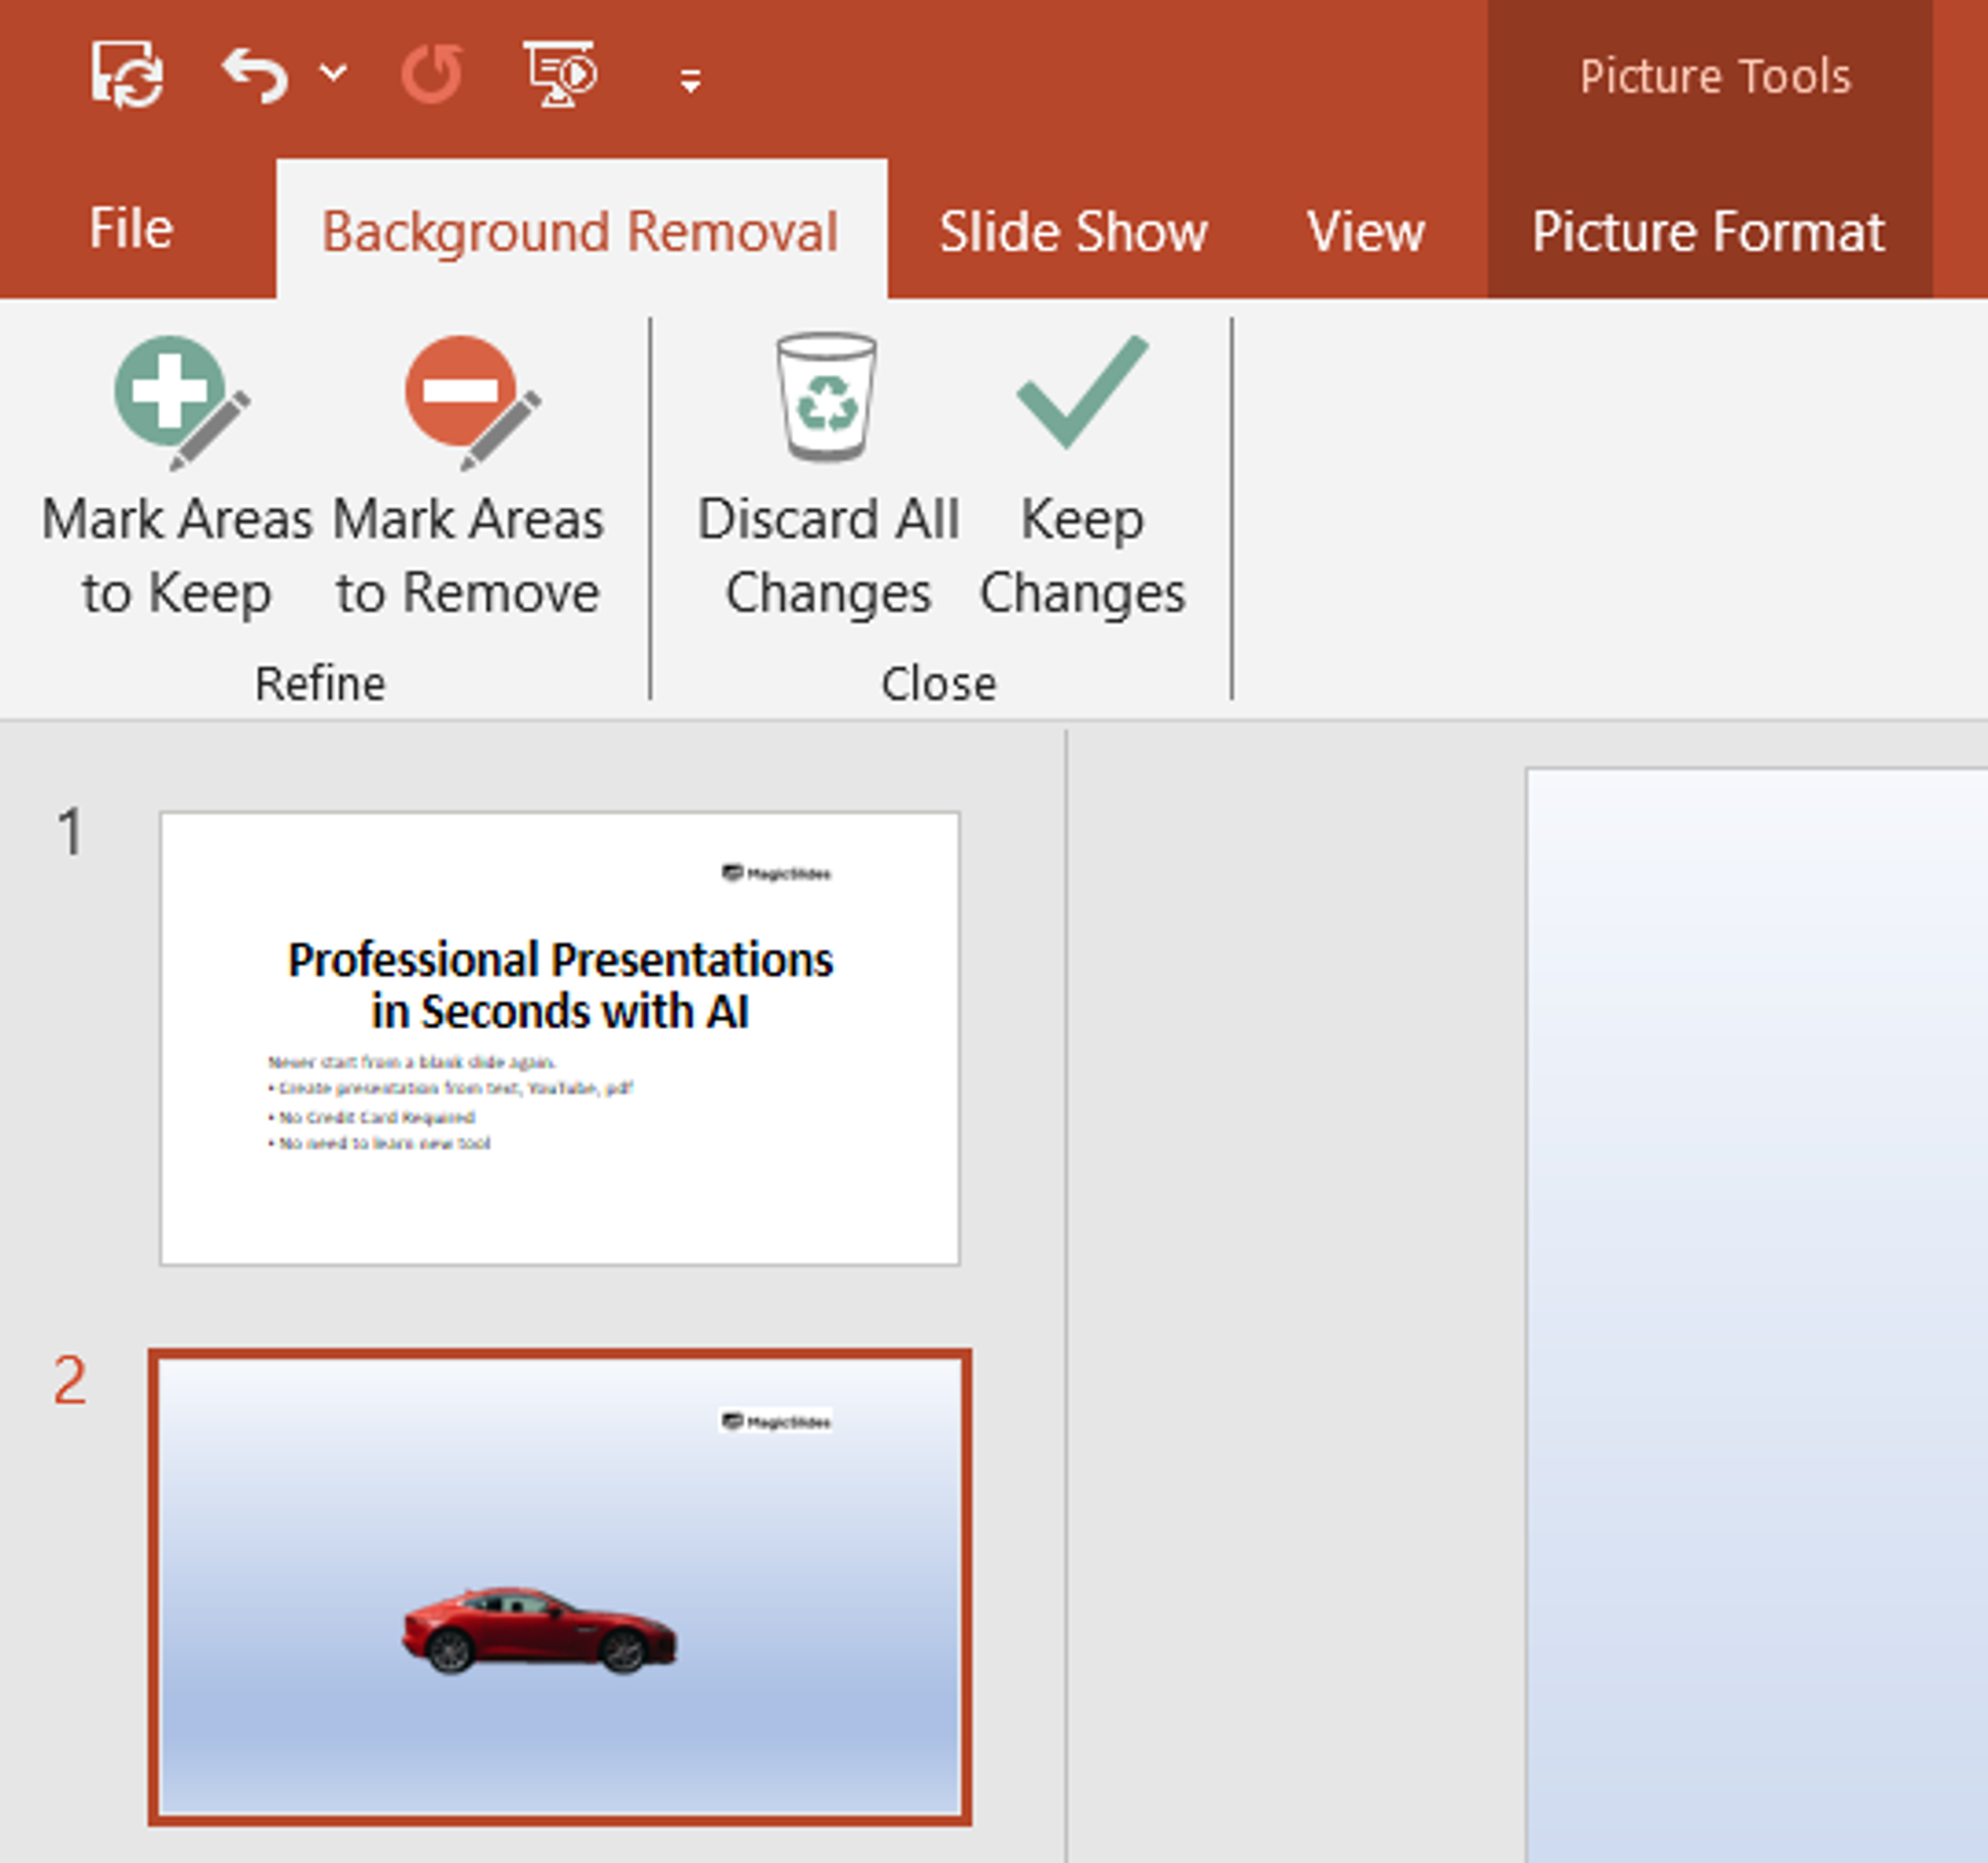
Use the "Mark Areas to Keep" and "Mark Areas to Remove" options in the top menu to refine the selection further. Click and drag over areas of the image that should be kept or removed respectively. This helps PowerPoint understand your preferences better and make more accurate selections.
Finalize the Background Removal:
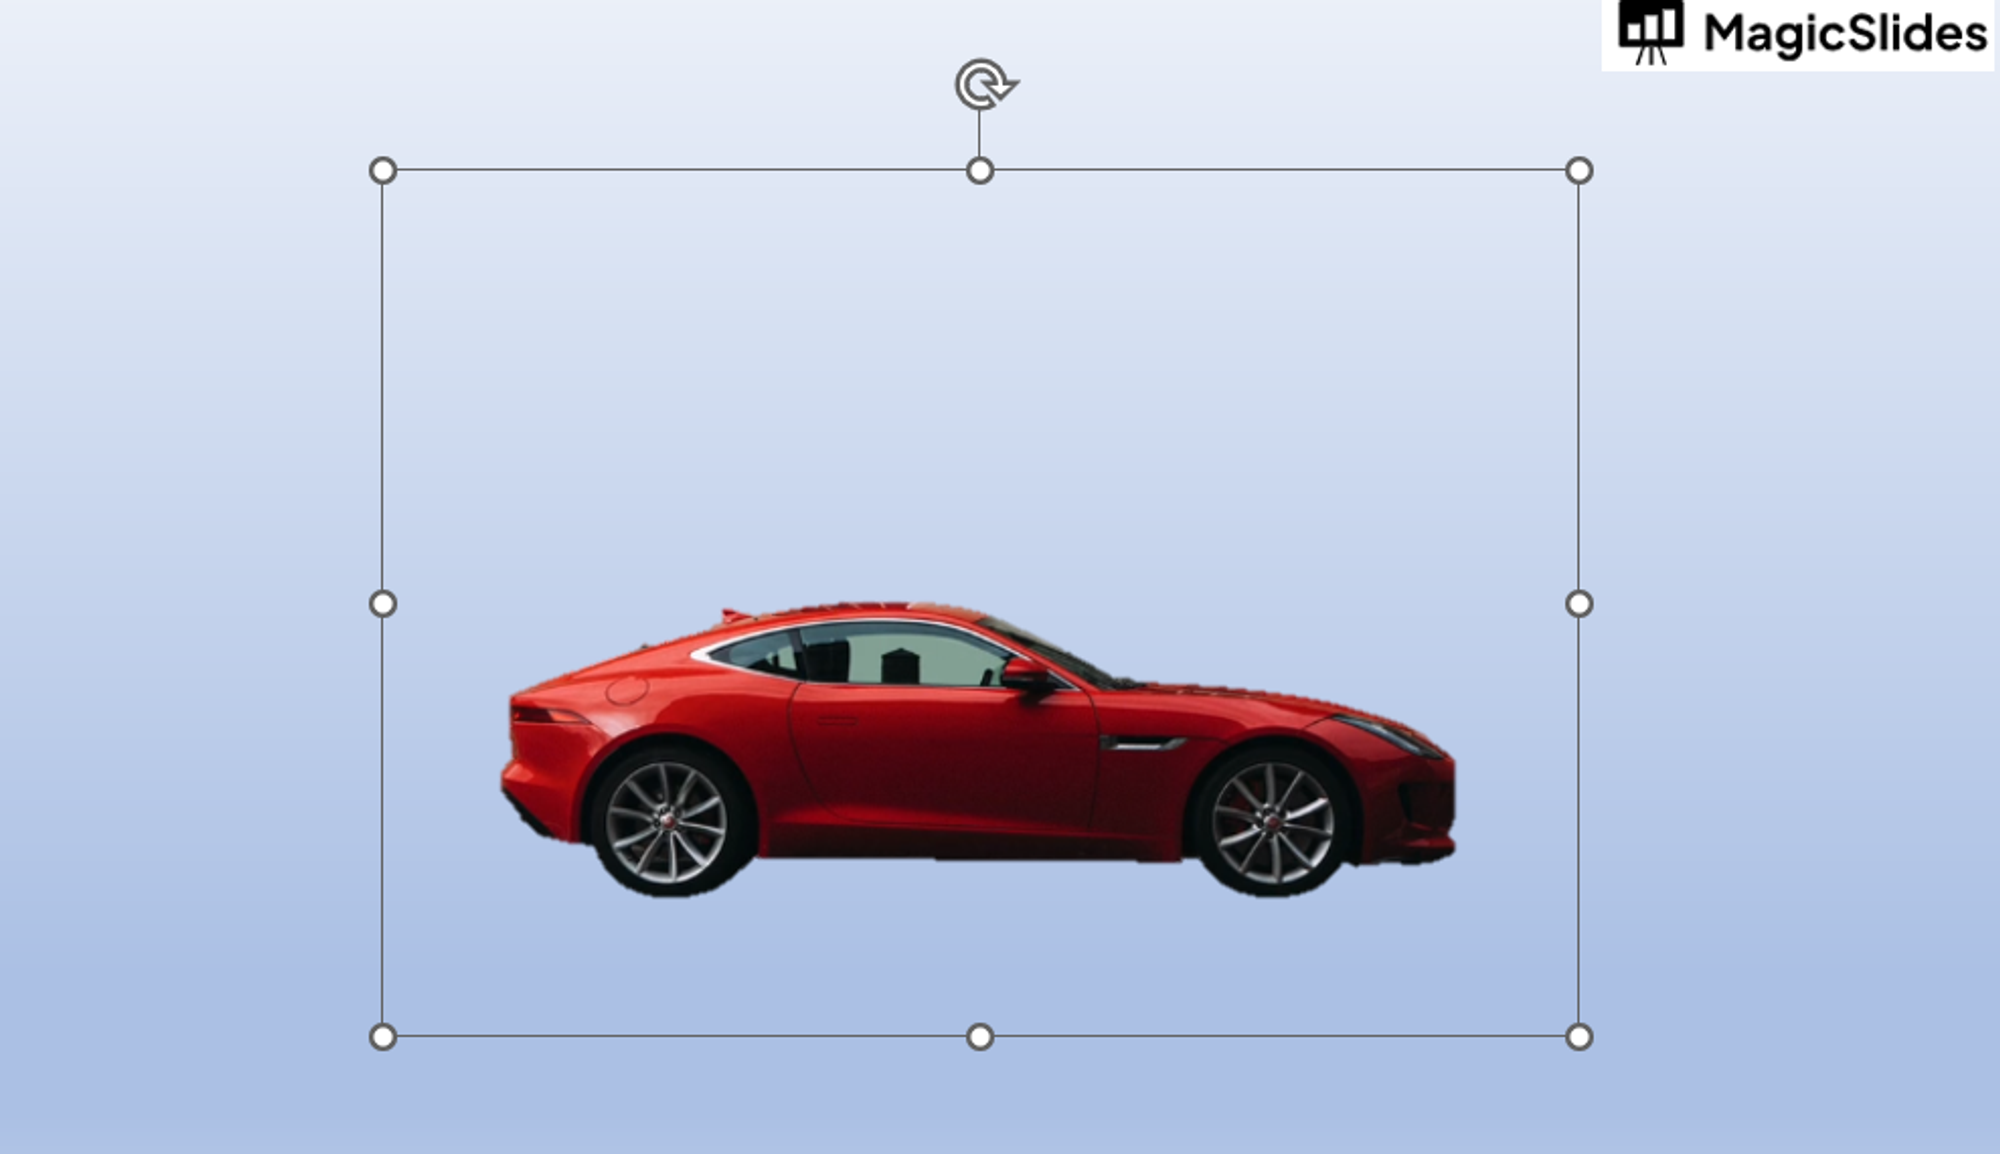
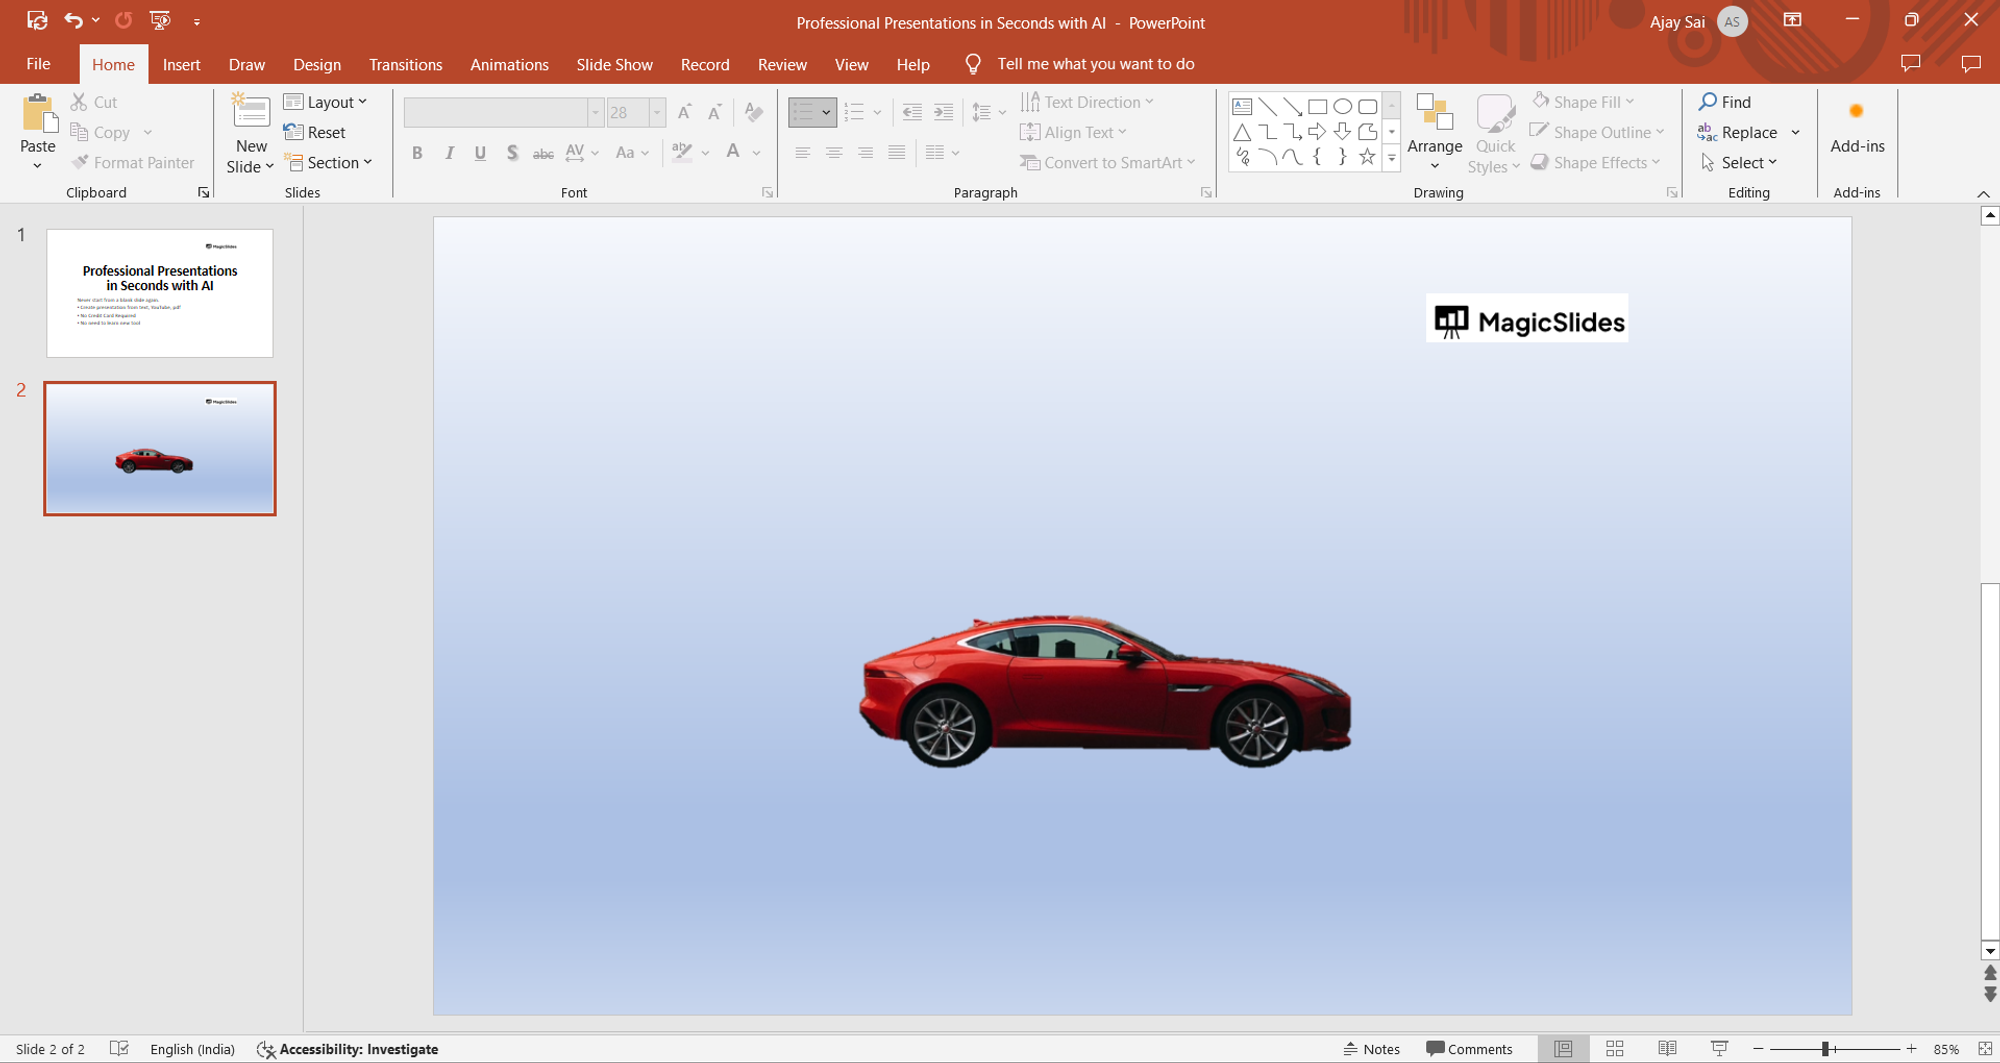
Once you're satisfied with the selection, click outside the image or press the "Enter" key to finalize the background removal. PowerPoint will apply the changes, removing the white background from the image.
Save the Image:
After removing the white background, you can now save the image by right-clicking on it and selecting "Save as Picture." Choose the desired file format (such as PNG or JPEG) and save the image to your computer for further use.
Conclusion:
Removing a white background from an image in PowerPoint can elevate the visual appeal of your presentations, graphics, and other design projects. With the step-by-step guide provided above, you can efficiently remove backgrounds and create professional-looking visuals with ease. Mastering this skill opens up a world of creative possibilities, allowing you to enhance your presentations and designs effortlessly. Experiment with different images and backgrounds to unleash your creativity and make impactful visuals that captivate your audience.
Frequently Asked Questions:
Why remove the white background in PowerPoint?
Removing the white background enhances visuals, making them blend seamlessly into presentations and designs.
Can I remove backgrounds from all images?
While PowerPoint is effective, complex images may require more advanced image editing software.
Does background removal affect image quality?
When done properly, background removal in PowerPoint maintains image quality without significant degradation.
Are there alternative methods for background removal?
Yes, external tools like Adobe Photoshop offer more precise control but may require additional skills.
